
How to Preserve and Share Your Family Memories as Keepsakes
- Lifestyle
- By Barbara L. on
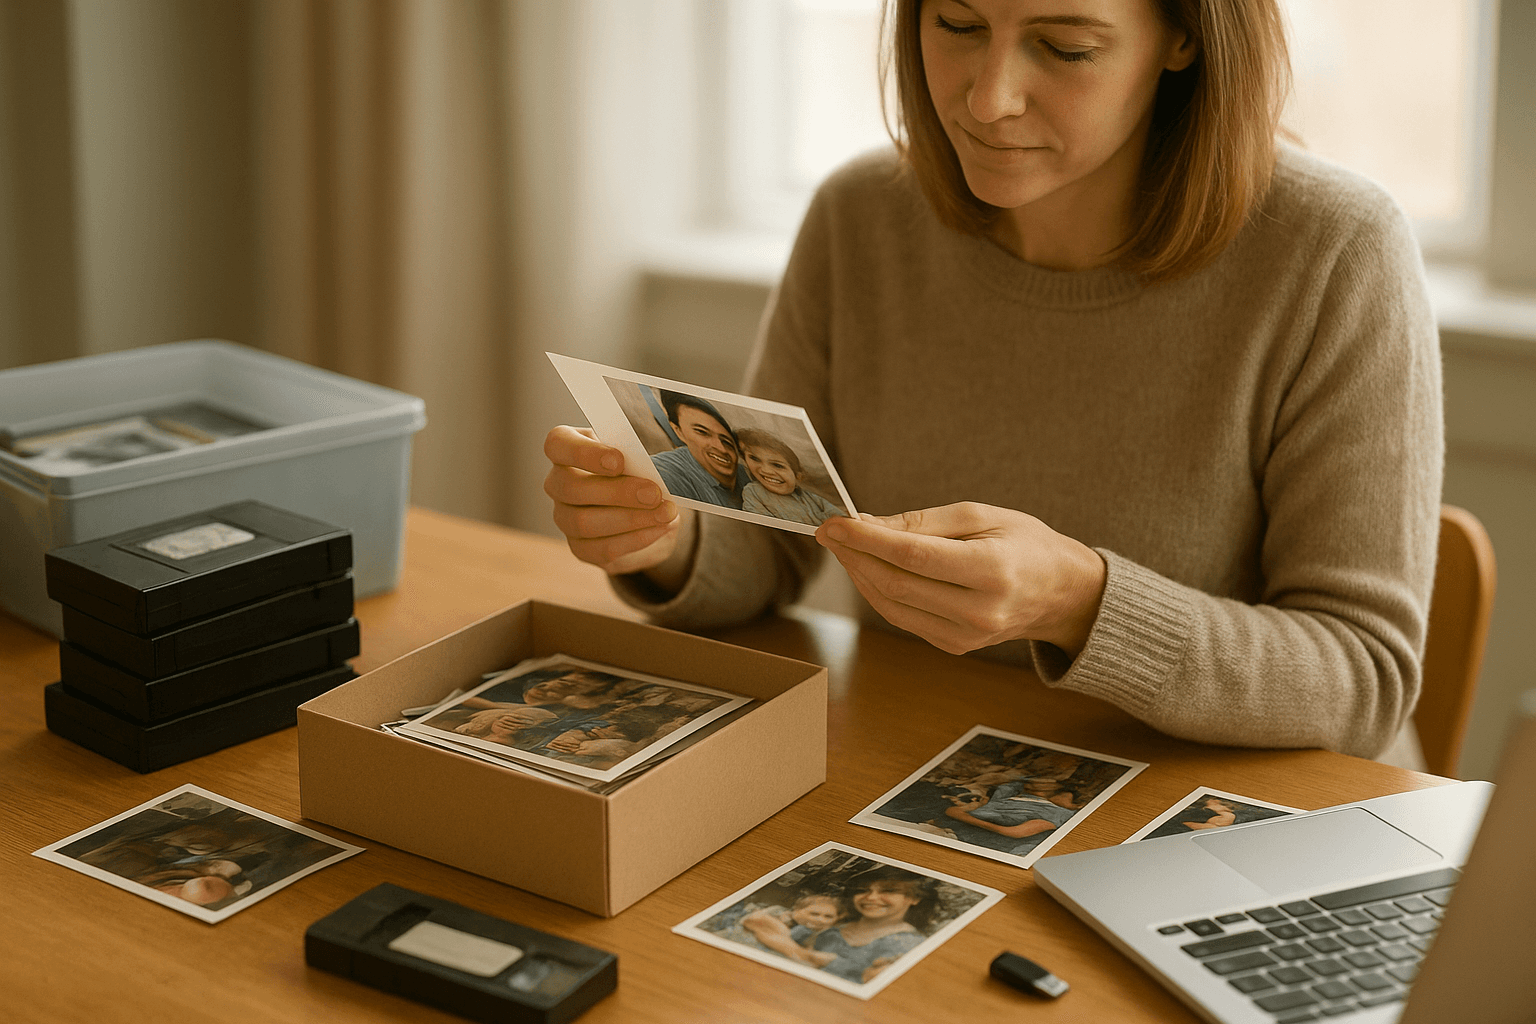
Most families have a memory problem hiding in plain sight. Prints sit in shoeboxes, old videotapes sit in closets, and thousands of phone photos sit in a camera roll with no names or dates attached. Over time, the people who could explain those images become harder to ask.
The good news is that preserving family history does not require special training or a big budget. A basic process of sorting, scanning, backing up, and labeling covers most of what matters. The same work also produces the raw material for meaningful gifts.
This guide walks through a practical order of operations, from taming the pile to creating keepsakes that relatives will actually use. Starting early in the fall leaves room to avoid a rushed holiday deadline.
Start With a Simple Sorting System
Before scanning anything, gather the materials in one place and decide how to group them. Chronological order by decade works for many households, while others prefer grouping by branch of the family or by event.
Keep the first pass quick. The goal is to separate the keepers from duplicates, blurry shots, and near-identical frames.
- Sort into broad piles: people, places, and events.
- Set aside fragile, torn, or stuck-together items for careful handling.
- Write notes on the back of prints only with a soft pencil or a photo-safe pen, and avoid ballpoint pens.
- Keep originals even after scanning, since a scan is a copy rather than a replacement.
Digitize Prints, Slides, and Home Videos
For prints, a flatbed scanner generally gives better results than a phone snapshot, and many scanning resolutions are available. Common guidance suggests scanning at a higher resolution for photos you may want to enlarge or print as gifts. Smartphone scanning apps can work well for casual sharing when the lighting is even and glare is avoided.
Slides, negatives, and film reels usually need dedicated equipment or a professional service. Prices vary widely by format and volume, so it helps to get quotes and ask how files are delivered.
Home videos on tapes such as VHS or camcorder formats degrade over time. Converting them sooner rather than later is a sensible priority, particularly for footage of relatives who are no longer around.
Back Up Files So They Survive
Digital files are only safe when they exist in more than one place. A common approach is the 3-2-1 rule: three copies, on two different types of storage, with one copy kept offsite.
- Keep a working copy on a computer.
- Store a second copy on an external hard drive or solid-state drive.
- Use a cloud storage service or a drive kept at another home for the offsite copy.
Use widely supported file formats such as JPEG or TIFF for photos, and check the backups once or twice a year. Storage devices can fail, and cloud services can change their terms, so occasional reviews matter.
Capture the Stories Behind the Photos
A photo without context loses value quickly. Names, places, and approximate dates turn an image into a record, and a short story turns it into something people want to read.
Recording conversations is one of the most valuable steps. A phone voice recorder works fine, and free tools and prompts from oral history projects can help guide the questions.
- Ask open questions, such as what a typical day looked like in a childhood home.
- Show a photo and ask who is in it and what was happening.
- Record short sessions of 20 to 40 minutes to keep the conversation relaxed.
- Save the audio files with clear names and include them in the backup routine.
Typing out a few lines of notes for each recording makes the material easier to search later.
Turn Memories Into Holiday Keepsakes
Once files are organized and captioned, gift options open up. The best choices are the ones tied to a specific person or story rather than a generic collage.
- Photo books: Organize by theme, such as a grandparent's life in chapters, and include short captions pulled from recorded stories.
- Digital frames: Preload a rotating set of images for relatives who prefer not to manage devices.
- Recipe collections: Pair scanned handwritten recipe cards with a photo of the cook.
- Framed prints or calendars: Choose a handful of strong images, restored if needed, with a relevant date for each month.
- Shared online albums: Let extended family view and add their own photos and identifications.
Order printed items early, since production and shipping times tend to lengthen in late fall. Checking a proof for spelling errors and print quality before finalizing is worth the extra step.
A Realistic Timeline Before the Holidays
Breaking the project into small tasks keeps it manageable.
- Weeks 1 to 2: Gather and sort materials, and choose a gift idea.
- Weeks 3 to 5: Scan or send out items for digitizing, and record a few stories.
- Week 6: Back up files, add captions, and select final images.
- Weeks 7 to 8: Design and order keepsakes, then review proofs.
Even a partial effort helps. Digitizing one box and recording one conversation preserves more than an ambitious plan that never starts.